
I made these awhile ago, but now that I’m blogging (woop), might as well upload these here. I get these spurts of creativity where I absolutely HAVE to craft something. Which usually means I need to do that for cheap. So I grabbed some mason jars and made them pretty. These are also on my ETSY (the only things on my Etsy really) so you can look at more pictures there too.
What You Need:
- Any size mason jar you prefer
- Acrylic Paints
- Plaster of Paris
- A little bit of water
- An old mixing bowl or some sort of mixing receptacle (that you don’t mind getting paint in)
- Soft bristle paint brushes (I like the fanned kind)
- Emery Board/Nail File (the tough kind)
- Super Glue (optional)
- Sealant (optional)
- Twine (optional)
Instructions:
I basically refuse to buy super expensive chalk paint for minor crafts like this. And making it yourself is super super easy! I promise. The mixture is going to be two parts paint and one part Plaster of Paris and a dash of warm water. So however much paint you’re using, just don’t use as much PofP.
Step One: Put two parts Paint and one part Plaster of Paris in your mixing container and put a dash of warm water in. If the mixture is too thick, add a little more water; too liquidy and add a little more paint/PofP
Step Two: Mix together the paint, PofP, and water until it’s well combined and there’s no white powder left (kind of like mixing flour in with eggs).
Step Three: Take your clean mason jars and hold them by the rim. Start painting! Start with the bottom first and work your way to the rim. Let them dry upside down. (Tip: If you don’t want twine and just want paint, you can start at either end, but just remember you shouldn’t put the wet paint down on anything so leave either the rim unpainted till the bottom dries, or the bottom unpainted until the top dries).
**LET DRY FOR AT LEAST 5 HOURS – OVERNIGHT TO BE SAFE**
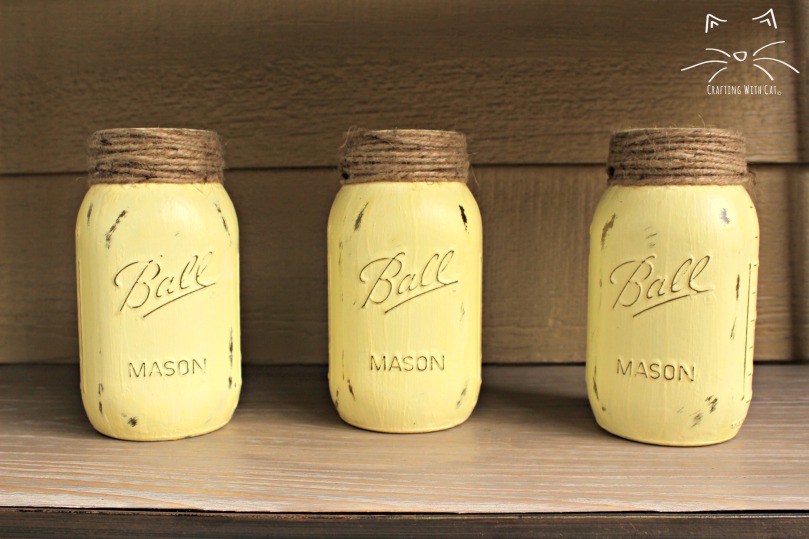
Step 4: Once your jars are dry, take your nail file and start making them look rustic. Since it’s chalk paint, it’s much easier to make them look “rustic” or “cottage chic.” I tend to go over the words, the designs on the back. If you just have a regular mason jar (like from pasta sauce) then sand where you think the paint might come off over time. None of mine look exactly the same, but that’s also kind of the best part.
Step 5: Here’s where the options come in. I super glued twine to the top of mine by simply gluing one end on the bottom of the rim, and going around with the twine (making sure to cover all the rim area leaving no gaps) and gluing it off to finish.
Step 6: You can also seal the whole thing. There’s Mod Podge that they now make to be dishwasher top-rack safe (after 28 days of letting it dry), or there’s clear sealants you can get in the spray paint section at Walmart, or Home Depot, or Lowes, etc. Paint, or spray it on. Follow the directions and let it dry. It will still look a little like chalk paint, but depending on the finish you get (matte, gloss, semi-gloss) it might look a little more smooth. This also does prevent the paint from rubbing off though, so I do recommend sealant of some kind.
I would suggest a clear spray if you’re using twine. I would also suggest using twine on your jars that do not need to go in the dishwasher. I use mine as vases and outside for herb gardens! (Yes, you can even carefully drill a hole in the bottom for planting).
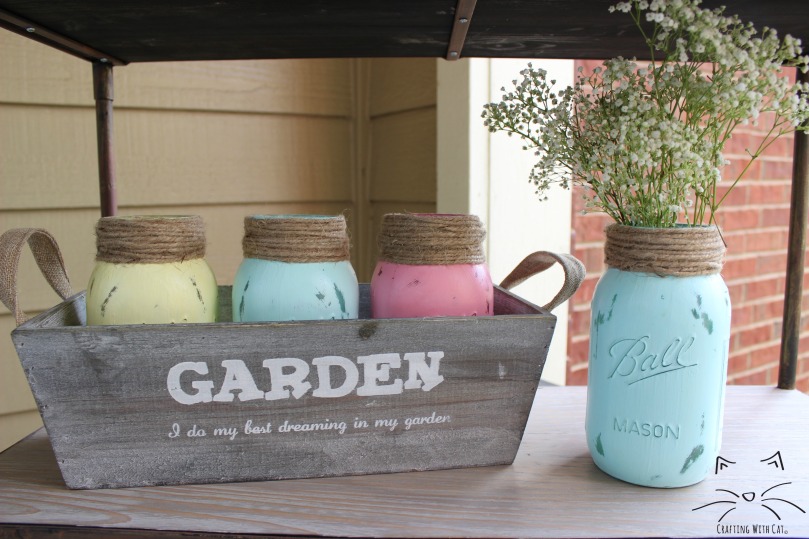
These colors are really cute for spring, and they were super fun and easy to make!
Happy Spring and Happy Crafting!
